
You're loading for a morning hunt, the stand is a long trail ride away, and the bed is already crowded with a blind, pack, tools and a cooler. It's tempting to solve every problem with another rack. But on an electric side-by-side, every purchase also affects weight, battery reserve, access to equipment and the trip home.
The best UTV hunting accessories solve a specific field problem without creating a worse one. Start with how you travel, what you carry and where you're allowed to ride. Then choose equipment that fits the vehicle, not just the shopping list.
Table of Contents
- Core Hunting Accessories at a Glance
- Safety Limits and Buying Order for Accessories
- Building a Complete Recovery Kit Around the Winch
- Quiet, Visible and Secure Setups for Hunting
- Transport Rules for Firearms and Bows on a UTV
- Cold-Weather Range Planning for Electric Hunting UTVs
- Installing and Checking Accessories Before the First Hunt
Core Hunting Accessories at a Glance
A hunter making dawn pickups on maintained roads needs a different setup from someone reaching a remote stand over muddy access trails. Both might need storage, but only one may need a rear rack. Neither benefits from carrying unused equipment through the woods all season.
These are the accessory categories worth considering first.
Core hunting accessories by job, mount and limit
| Accessory | Field job | Mounts to | Main limit |
|---|---|---|---|
| Hitch-mounted cargo rack | Carries blinds, decoys and camp gear | Hitch receiver | Receiver carrying limit and vehicle payload |
| Bed-mounted cargo box | Keeps tools and optics dry and locked | Approved bed stake pockets and tie-downs | Bed load limit |
| Gun rack or boot | Secures a rifle or shotgun in transit | Approved roll-cage or bed-frame mounts | Transport law and muzzle direction |
| Bow rack | Holds a bow securely between stands | Approved roll-cage or bed-frame mounts | Transport law and arrow handling |
| Winch and recovery kit | Self-recovery from mud, slope or ruts | Winch mounting plate and designated recovery points | Winch rating and anchor strength |
| LED lighting package | Work light for loading and camp | Roll bar or cargo frame | Electrical compatibility and battery draw |
| Windshield and weather enclosure | Blocks wind and rain during travel and waiting | Windshield frame or cab | Visibility and ventilation |
| Camouflage wrap or cover | Breaks the vehicle outline at the field edge | Body panels or fitted cover attachment points | Removal and paint care |
Read the mounting column before the feature list
The mounting point determines where the vehicle carries the load. A hitch rack places equipment behind the rear axle and can reduce departure clearance. A bed box keeps supplies contained, but its empty weight consumes carrying capacity before you add anything.
Don't use a towing rating as permission to put an equally heavy load on a receiver-mounted carrier. Trailer pulling capacity and allowable vertical receiver load are different limits. Check the receiver, carrier and vehicle documentation together.
Likewise, a box isn't automatically waterproof or theft-resistant because it has a lid. Inspect its gasket, latch, lock provision and attachment hardware. Make sure you can still reach the bed releases and service points after installation.
Buy for the trip you actually make
The main limit column tells you what to investigate before ordering. For a firearm carrier, legal transport and safe orientation matter more than quick access. For a light, the wiring and power supply matter as much as brightness.
A winch and a rack solve different problems. One supports recovery; the other carries equipment. Buying both doesn't make sense unless your routes and loads justify both.
An accessory earns its place when you can name the problem it solves on your next hunt.
Match each row to an actual trip: dawn pickups, muddy access roads, wet late-season rides or a long walk back from a stand. Leave categories off the vehicle when they don't serve that trip.
Safety Limits and Buying Order for Accessories
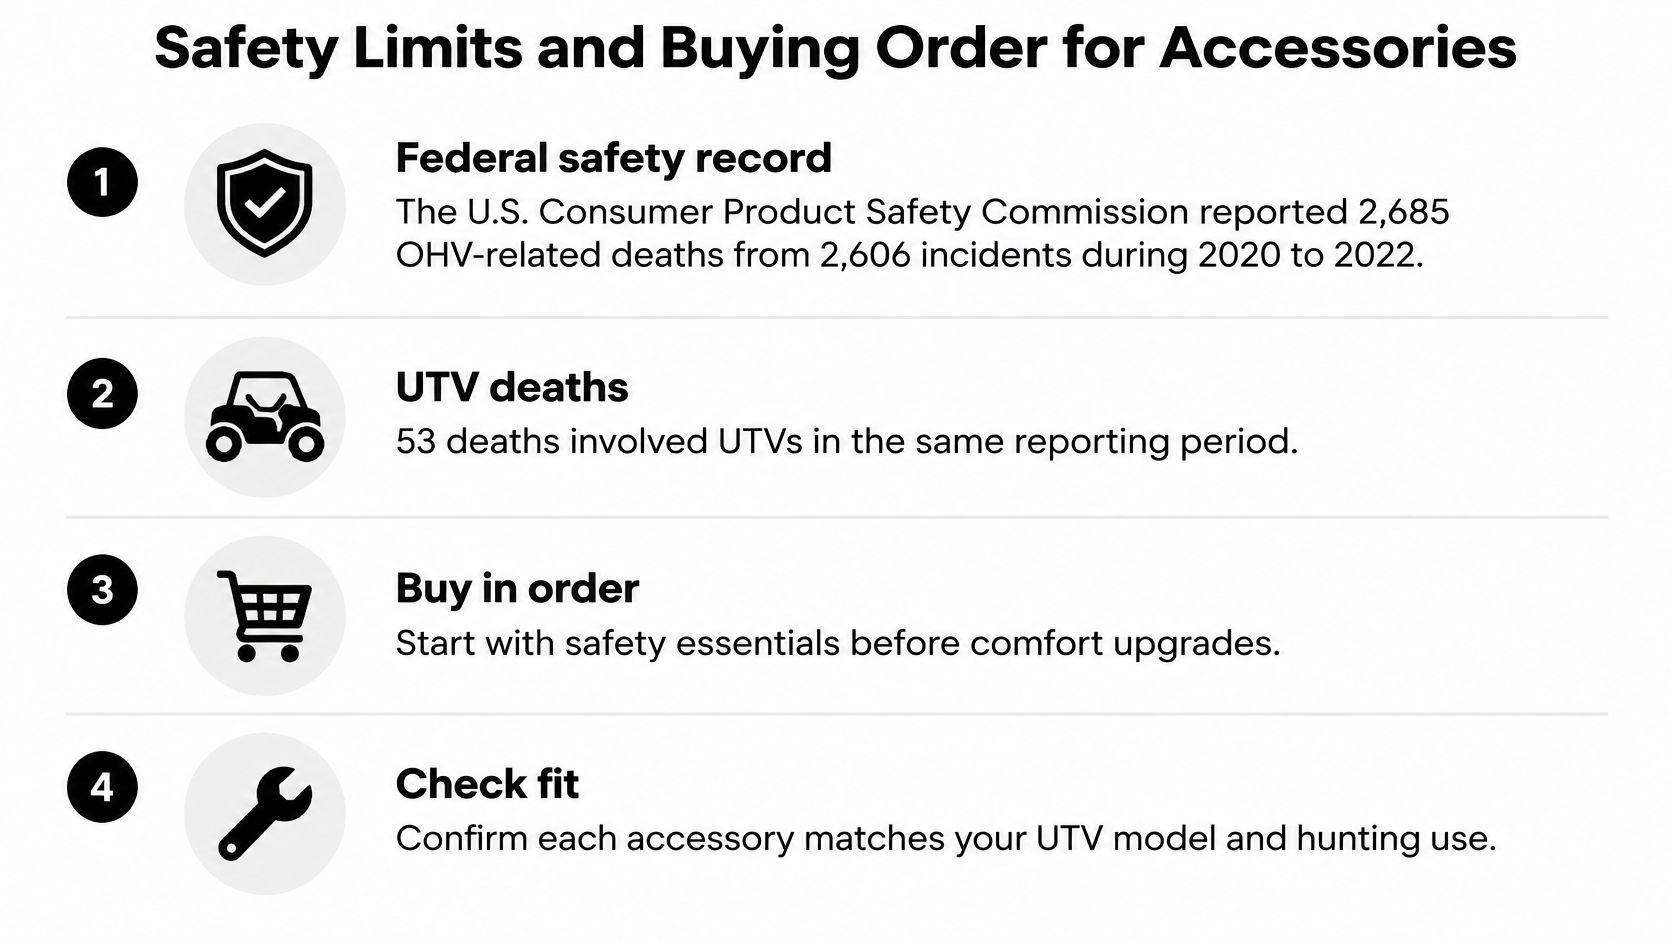
The U.S. Consumer Product Safety Commission's OHV annual report recorded 2,685 OHV-related deaths from 2,606 incidents during 2020–2022, including 53 deaths involving UTVs, and identified overturns and collisions as the most common fatality hazards. Those figures cover the broader OHV category, not electric hunting UTVs alone. They make a strong case for treating recovery equipment, secured cargo, useful lighting and occupant protection as working equipment rather than cosmetic extras.
Accessories can introduce hazards, too. Heavy equipment mounted high raises the center of gravity. A loaded rack can obscure sightlines, and an unsecured toolbox can move when the vehicle pitches into a rut.
Check the vehicle before filling the cart
Keep the owner's manual beside the accessory listing and check:
- Tow and receiver limits: Separate trailer capacity from allowable carrier and tongue loads.
- Bed load rating: Include the box, tools, hunting equipment and anticipated return load.
- Mounting points: Confirm the bracket matches an approved attachment location.
- Electrical demand: Identify operating voltage, current draw and the approved accessory supply.
- Ground clearance: Check what hangs below or behind the vehicle.
- Warranty terms: Establish whether drilling, wiring changes or battery modifications affect coverage.
Don't assume an accessory can connect directly to a traction battery. A device intended for an accessory circuit needs the correct supply and protection, not an improvised connection because the plugs happen to fit.
Buy in the order of the risks you face
- Recovery kit, winch and rated connections. Before ordering, verify the vehicle has suitable recovery points and an approved winch mount.
- Quiet, secured cargo and working lights. Check bracket fit and whether the lighting package uses an approved electrical circuit.
- A compliant weapon carrier. Confirm the transport rules for every land segment on your route.
- Cold-weather charging and a return reserve. Identify accessory demand before deciding how far to travel.
- Additional cargo storage. Calculate the remaining carrying allowance with people and hunting equipment aboard.
- Weather protection and camouflage. Check visibility, ventilation, service access and any warranty implications.
For battery-related changes, our Campus E1 battery warranty runs from the original retail purchase date, with full replacement coverage for the first 5 years and prorated coverage for the second 5 years within its 10-year warranty. Check the applicable documentation before modifying battery protection, charging arrangements or wiring.
A product listing doesn't override the vehicle manufacturer's payload, towing or mounting limits. Write down your usual trips, identify their biggest risks and use that list to decide which purchase comes first.
Building a Complete Recovery Kit Around the Winch
Buying a winch and calling it a recovery kit leaves important equipment missing. You still need a suitable anchor, compatible connectors, a way to reduce resistance and a safe operating procedure. A powerful winch can't compensate for a poor attachment.
The Forest Service winching guidance advises inspecting equipment, selecting a suitable winch, using a secure anchor and keeping at least five wraps of wire rope on the drum. A nominal 3,000 lb winch rating doesn't account for mud suction, slope, rolling resistance or pulley friction. Treat that rating as an equipment specification, not a promise that every recovery is possible.
Understand the load path
A tree-saver strap spreads the load around a suitable anchor tree instead of concentrating it against the trunk. A snatch block redirects the line and, in an appropriate returning-line arrangement, reduces the line tension needed for the pull while slowing recovery. The winch, block, strap, connectors and return attachment all need to suit the configuration.
Connect recovery hardware only to designated recovery points, never an axle, suspension arm or convenient-looking bracket. An axle connection can damage suspension components or fail unpredictably. Keep people clear of the tensioned line, its bight and the space between the vehicle and anchor.
Say the vehicle stops in deep ruts on a wet ridge trail. Stop spinning the tires, assess whether the vehicle can slide, secure it against movement and clear mud from the intended exit. Inspect the anchor and equipment, establish the load path, then operate from a protected position according to the winch instructions.
Recovery kit items, their jobs and key notes
| Recovery item | Job in a recovery | Key note |
|---|---|---|
| Tree-saver strap | Spreads load around an anchor tree | Avoids girdling the trunk |
| Recovery shackles, paired | Join straps or lines to rated points | Use designated recovery points only |
| Loop-ended tow strap | Supports a controlled tow without the winch | Match its rating to the task; don't use it for a shock pull |
| Snatch block | Redirects the line or supports a returning-line pull | Reduced line tension comes with slower movement |
| Additional chain | Extends reach to a suitable anchor | Match its rating and connections to the load |
| Wheel chock | Helps secure the vehicle during setup | Position safely before tensioning |
| Shovel | Clears mud and builds an exit path | Keep it accessible when the bed is loaded |
| Gloves | Protect hands from rope and debris | Never guide moving rope by hand |
| First-aid kit | Supports initial injury treatment | Inspect contents before the season |
Pack for access, not appearance
Store the recovery kit where you can reach it without unloading the entire bed. Separate muddy straps from medical supplies, and dry equipment before closing it into storage.
Use our off-road essentials guide to organize the wider trail loadout. Practice deploying the equipment on firm, level ground before you need it in darkness or bad weather.
Quiet, Visible and Secure Setups for Hunting
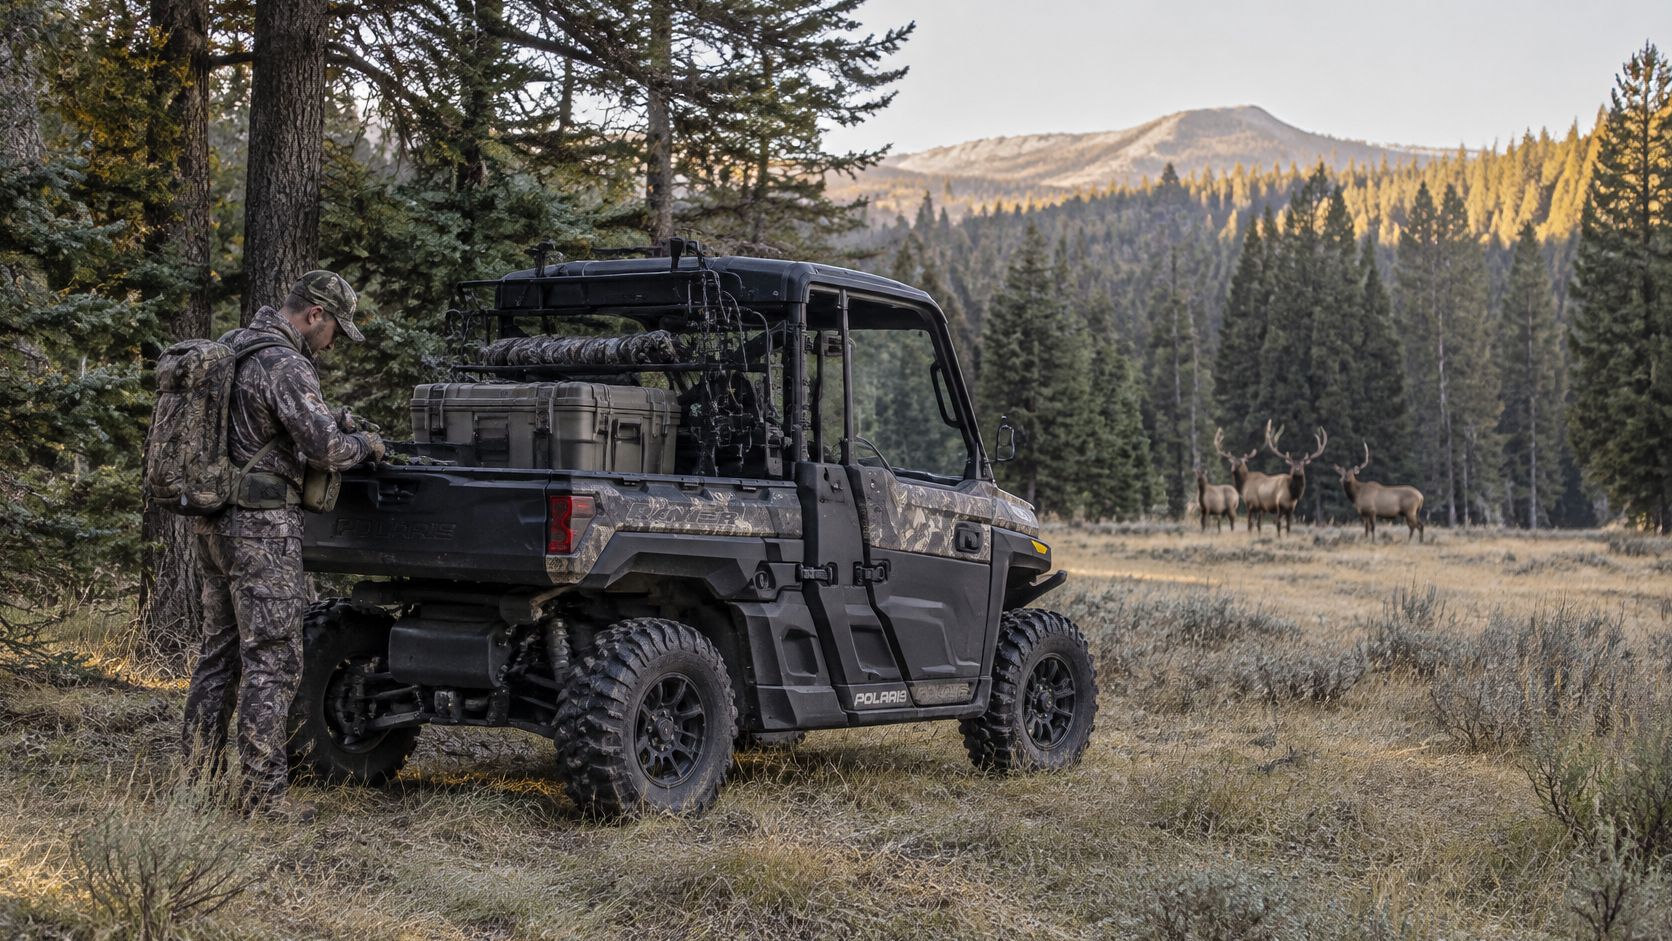
USDA Forest Service wildlife recreation-noise research found that recreation noise can trigger fleeing and prolonged vigilance; elk were especially sensitive, and field research associated ATV riding with trail avoidance. An electric drivetrain doesn't make the whole vehicle silent. Loose shackles, a shovel against a bed rail and a vibrating rack still make noise.
Start by securing what you already carry. Adding camouflage while leaving tools loose in the bed doesn't address the disturbance you can control most easily.
Remove the rattle at its source
- Avoid unnecessary running: A parked electric UTV doesn't need engine idling, but fans, audio equipment and powered accessories can still create avoidable noise.
- Choose quiet equipment: Inspect latches, hinges and mounting hardware rather than judging an accessory only by its material or finish.
- Restrain every loose item: Use rubber-isolated mounts, closed-cell padding and latching cases for calls, optics, recovery tools and appropriately transported firearms.
Say a tool rack chatters over washboard gravel. First check for loose hardware or an incorrect bracket fit. Then add suitable closed-cell isolation at contact points and move loose tools into a restrained latching bin.
Padding isn't a substitute for a sound mount. Don't insert compressible material into a structural joint unless the accessory instructions allow it. Isolate equipment contact surfaces without weakening the attachment.
Light the job without lighting the whole woods
Aim a securely mounted, low-current LED work light into the cargo area. You need to see straps, latches and your footing, not flood the surrounding timber. Test the beam with the bed loaded because pale cases and reflective surfaces can send glare toward the driver.
A red or shielded task light can be useful around camp. Keep headlights and required signaling equipment operational for travel, and don't treat a discreet task light as a substitute for safe route visibility.
Field priority: Reduce avoidable noise, not the visibility you need to drive safely.
Keep cases and carriers clear of mirrors and sightlines. Camouflage covers should stay clear of lights, controls, ventilation openings and moving parts, and loose covers should come off before travel unless designed for it.
Stay on designated roads or trails and finish the approach on foot where conditions or regulations require it. Quiet equipment doesn't make cross-country vehicle travel acceptable.
Transport Rules for Firearms and Bows on a UTV
The first question isn't which rack fits the roll cage. It's which transport configuration is legal from the truck to the stand. A convenient carrier can be the wrong purchase if it encourages ready-to-use weapon transport or blocks a safe unloading position.
The Wisconsin Department of Natural Resources' hunting safety guidance advises helmets and seatbelts for ATV and UTV users, states that firearms cannot be discharged from a moving or stationary ATV/UTV, and specifies transport restrictions including unloaded firearms and no arrow nocked on bows. Those are jurisdiction-specific requirements, not a complete statement of the rules for every hunting destination.
Choose a carrier around the route
Private property, state-managed hunting land and federal refuges can have different vehicle-access and hunting rules. Refuge-specific restrictions may govern proximity to motor routes or confine vehicles to designated roads and parking areas. Check the current rules for the actual property rather than applying another refuge's restrictions to your destination.
Firearm and bow carriers compared for transport
| Carrier | Lockable | Transport check | Best use |
|---|---|---|---|
| Open rack | No | Confirm unloaded condition and safe muzzle direction before moving | Short private-land trips where permitted |
| Lockable gun boot | Yes, when equipped with a functioning lock | Confirm unloaded condition and safe muzzle direction before closing | Routes involving parking or public land, where compliant |
| Bow rack | Only with a separate compatible locking system | Confirm no arrow is nocked and restrain arrows separately | Bow hunts with secure trail access |
| Lockable cargo box | Yes, when specified | Store unloaded, restrained and out of sight | Concealed storage between stands where permitted |
A lockable boot offers containment and a theft deterrent, but it doesn't establish legal compliance by itself. Check whether local rules also require a particular case configuration. An open rack provides easy inspection, but exposes equipment to weather and leaves it visible when parked.
Check orientation and passenger space
Try the carrier with the actual firearm or bow before committing to its position. A large optic, sling or quiver may interfere with closures even when the basic item fits. Keep the muzzle directed away from occupants and from anyone who would stand beside the vehicle during loading.
The carrier must not obstruct restraints, passenger exits or the driver's controls. Don't let a tall case hide required blaze-orange clothing or other required visibility equipment.
Before each hunt:
- Confirm every land segment: Check vehicle access, transport requirements and parking restrictions.
- Unload before moving: Verify the weapon's condition directly rather than relying on a previous check.
- Pack out afterward: Remove weapons, loose property and any accessories that cannot legally remain.
A premium carrier is useful only when its installation and your routine support safe, lawful transport.
Cold-Weather Range Planning for Electric Hunting UTVs
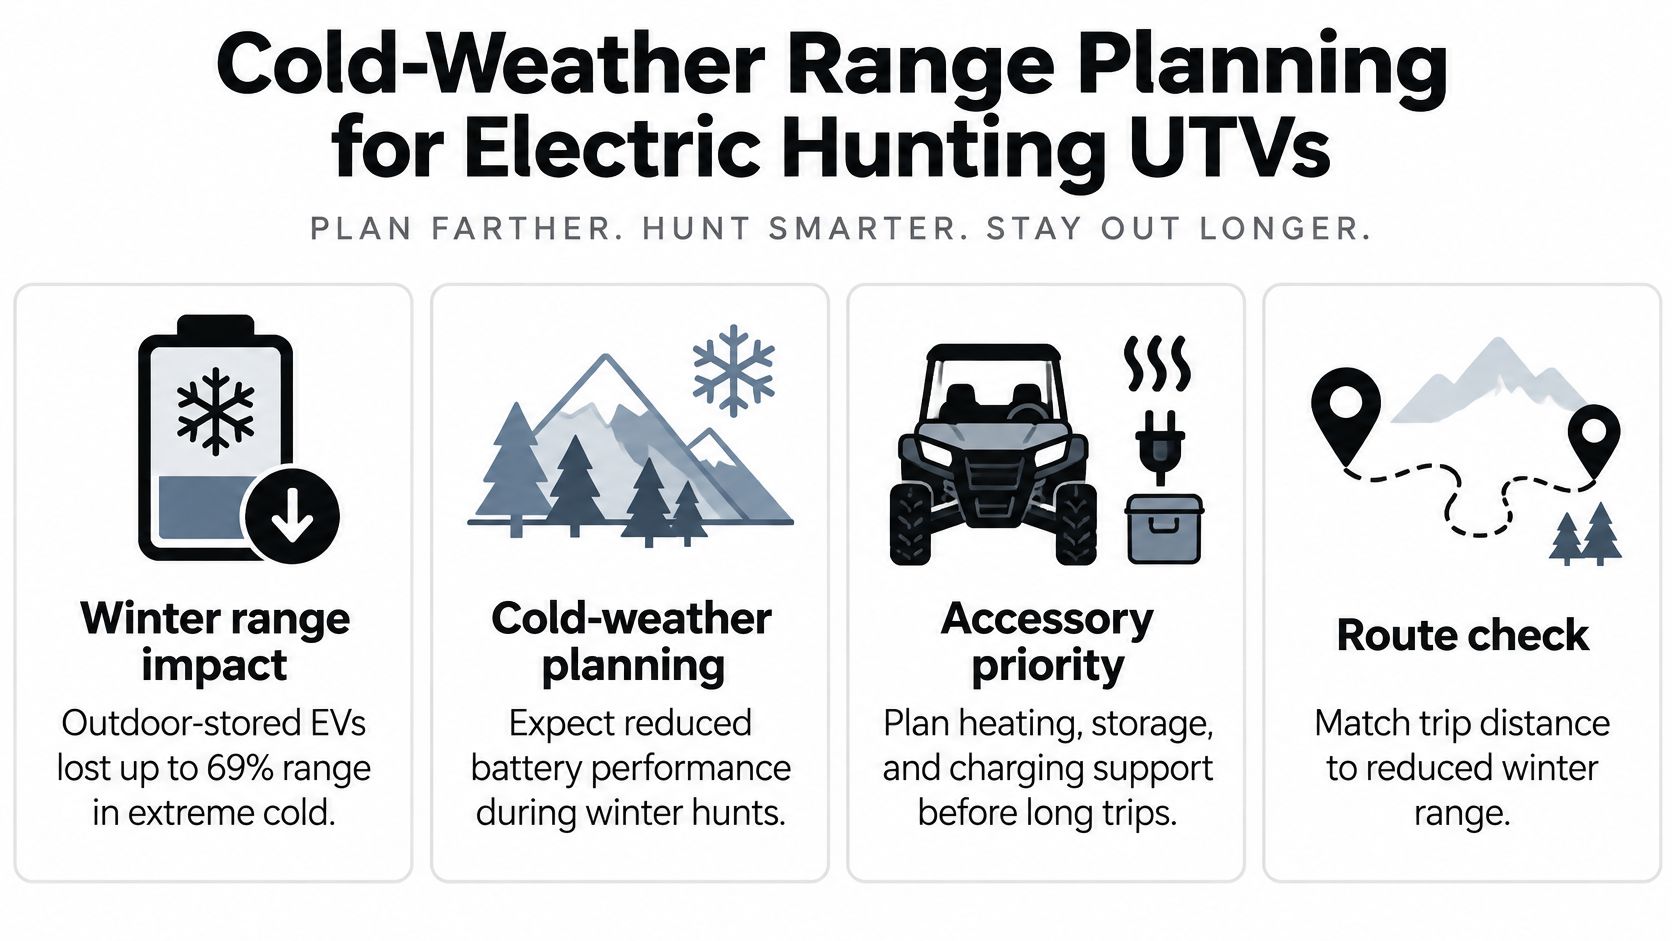
Winter changes the accessory decision. A heater or extra lighting may make a hunt more comfortable, but comfort equipment shouldn't consume the reserve you need to return. Start with cold-weather route planning, not another cargo attachment.
The government cold-weather EV report describes outdoor-stored EV range losses of up to 69% in extreme cold and range falling to one-half or one-third of the official figure below -20°C (-4°F); it also cites a New York State fleet guide's roughly 10–30% loss near freezing. These are broader EV findings, not tested range predictions for your hunting UTV.
Reported range loss in cold conditions
| Condition | Reported range loss | Planning response |
|---|---|---|
| Near freezing | Material reduction in the fleet guidance | Budget energy for lights and heaters |
| Severe subfreezing temperatures | Potentially a substantial share of official range | Establish a turnaround charge before departure |
| Extreme cold with outdoor storage | Largest losses in the reported testing | Use suitable heated storage and approved charging procedures |
Set the return reserve before leaving
Use this planning calculation:
Remaining distance allowance = conservative cold-weather usable range minus the complete planned route minus a contingency reserve.
Choose the starting range from your vehicle's documentation and local trip records at comparable temperatures. The broad EV findings are warnings against optimistic planning, not a temperature calculator calibrated to your UTV.
Record the charge needed for comparable return journeys. Set a minimum departure charge from the stand that covers that return consumption plus additional reserve for deterioration, delays and recovery. If you haven't established dependable local figures, shorten the route rather than inventing a universal safe percentage.
Separate electrical loads from carried weight
- Continuous loads: Heaters, work lights and communications equipment consume energy while switched on.
- Intermittent loads: Winches and powered bed operation need allowance even when they're used briefly.
- Passive equipment: Racks, cases and enclosures don't draw electricity directly, but add weight and may change travel resistance.
Follow the battery manufacturer's charging-temperature limits. Don't bypass a cold-charge lockout or improvise battery insulation around components that need ventilation. Match tire choice and pressure to the approved vehicle specification and expected terrain.
Portable charging helps only when the charger, power source and available energy are compatible. If camp communications include Starlink Mini, Revolink Satellite Gear's explanation of why 65W PD sources fall short is a useful device-specific compatibility check, not a UTV charging solution.
Use our electric UTV performance guidance alongside a written route and charging plan. In winter, a reliable way home is often more valuable than additional carrying space.
Installing and Checking Accessories Before the First Hunt
Do the installation check with enough time to correct problems before departure. A bracket that fits in the garage may interfere with steering, bed movement or loaded clearance once the vehicle is ready to hunt.
Work through the installation in order
- Confirm attachment locations. Match recovery equipment to designated recovery points and racks to approved cargo mounts. Don't substitute an axle, body panel or unsupported bed edge.
- Fit the specified hardware. Use the manufacturer's brackets, fasteners and tightening sequence. Apply the listed torque with a torque wrench rather than tightening by feel.
- Protect electrical circuits. Use the approved accessory supply, a fuse selected for the device and wiring, and a switch within safe reach. Route cables away from sharp edges, steering components, suspension movement and bed hinges.
- Test every function. Check headlights, work lights, horn and signaling equipment. Look for reflections in the windshield and confirm accessories don't obscure required lighting.
- Load for the planned hunt. Secure the intended equipment, check clearance and make a slow test drive on flat ground. Stop if steering, braking or load stability feels wrong.
- Inspect after rough travel. Recheck fasteners and mounting surfaces after the first rough ride and before each season. Use the specified torque rather than repeatedly overtightening.
- Keep a load record. Record accessory weights, equipment ratings and the cargo carried so later additions don't disappear into guesswork.
Check heating as a complete installation
Before adding powered cab heat, use our side-by-side cab heater guide to frame the fitment and power questions. Confirm cable routing, circuit capacity, switch placement and clearance from soft gear.
If fitting an accessory would exceed a manufacturer limit, it doesn't get fitted.
We sell genuine parts and accessories for outfitting electric UTVs for hunting and utility work. Visit Campus EV to review available equipment and find an authorized dealer where you can book a test drive and discuss your planned hunting loadout.