
A week of real work leaves marks. Wet gravel off the driveway, a pallet of feed bags, a field-dressed deer hoisted in at dusk, and by Friday the bed floor is a map of scratches, dark water rings and a rust bloom starting around a bolt head.
That's usually when the search for a UTV bed liner begins. Most buying advice frames a liner as scratch protection, a cosmetic add-on you buy after the paint is already gone. On a machine with a tipping electric dump bed, the liner is closer to a load-management system. It decides how cargo behaves under braking, whether the bed empties itself when it rises, and how much of your payload budget the protection takes.
Get that right and the bed stays usable for a decade. Get it wrong and you're prying a warped panel out of a hinge pocket at the start of hunting season.
Table of Contents
- UTV Bed Liner Types at a Glance
- How Liner Materials Handle Friction and Chemicals
- Matching a Liner to a Dump Bed
- How to Install a Drop-In or Spray-On Liner
- Maintenance Schedule That Keeps Liners Working
- What a Bed Liner Costs Over Its Life
- Choose the Liner for Your Work Before You Buy
UTV Bed Liner Types at a Glance
Three liner families cover almost every UTV bed decision: spray-applied polyurea or polyurethane, molded plastics such as high-density polyethylene, and rubber or composite mats. They all protect against abrasion, impact, moisture, chemicals and ultraviolet exposure, but they manage a load differently once the bed is moving, tilting or being hosed out.
A 2025 truck-bed-liner market report from Radial Insights valued the global truck-bed-liner market at about USD 1.74 billion in 2025 and projected USD 2.67 billion by 2035, a 4.36% compound annual growth rate, with polyurea forecast to grow fastest at 5.55% a year. Treat that as a materials benchmark from truck beds, not a UTV sales count.
The three families behave like three things you already own. A spray-on liner works like a permanent paint job bonded to the metal or plastic, with no seam for grit to work under. A drop-in works like a removable tray that sits inside the bed and comes apart in panels. A rubber mat works like a heavy floor mat that cushions whatever lands on it and leaves the walls bare.
UTV bed liner types compared
| Liner type | Material | Main strength | Main trade-off | Best fit |
|---|---|---|---|---|
| Spray-on polyurethane or polyurea | Elastomer sprayed and bonded to the bed floor and walls | Continuous coverage with abrasion and impact resistance | Permanent, needs professional prep, hard to remove | Abrasive stone, tools and frequent heavy loads |
| Drop-in molded plastic (HDPE) | Molded high-density polyethylene panels | Replaceable and impact resistant | Low grip, can shift under sliding loads | Tools, fencing supplies and swap-out work |
| Rubber or composite mat | Rubber or composite sheet | Cushioning and grip for loose gear | Traps mud and blood, leaves bed walls exposed | Feed bags, game and loose equipment |
For a dump bed, read the table as a load-management choice. Continuous coverage suits abrasive loads that grind the same spot every trip and keeps fines from reaching the bed floor. Replaceability suits an owner who needs a clean bed for weekend passengers and a work bed on Monday. Cushioning suits feed, tools and game you would rather not hear slamming around on every rut.
The replace-or-repair trade-off shows up on other working surfaces too, including surface protection materials for contractors. In a UTV bed, the practical question is which layer you expect to sacrifice when gravel, antlers or a battery box starts moving.
Shortlist before you shop: name the two loads you carry most weeks. If stone, logs and tools dominate, start with spray-on and drop-in. If game, feed and loose gear dominate, start with a mat and a drop-in.
The toughest-looking option can still be the wrong buy if it turns every dump cycle into a shoveling job or adds weight you would rather spend on payload.
How Liner Materials Handle Friction and Chemicals
Two properties decide how a loaded bed behaves in motion: how much grip the surface offers, and what it does when something spills. A tipped gravel load is the moment the surface stops being a theory.
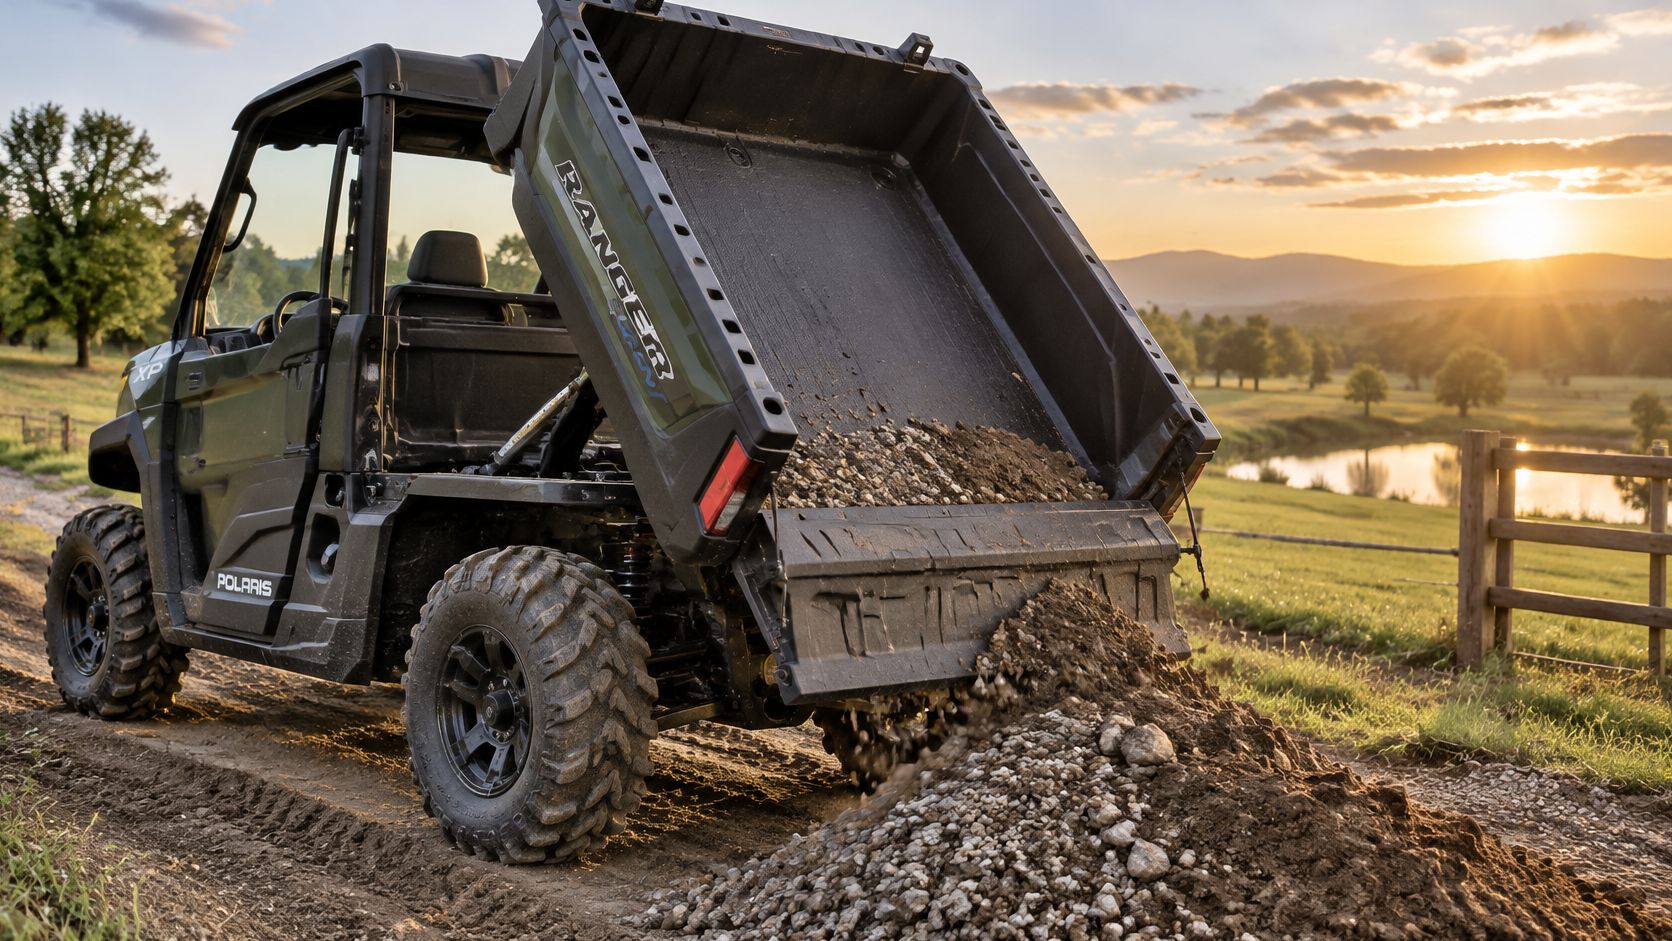
A published liner comparison from Armorthane reports static-friction values from ASTM D1894-related testing of roughly 0.85 for a softer slip-resistant liner, 0.70 for a harder polyurea liner and 0.20 for polyethylene. Those numbers explain a lot of tailgate dents.
Friction values by liner material
| Liner material | Static friction (approx.) | Practical effect on cargo |
|---|---|---|
| Softer slip-resistant liner | 0.85 | Holds loose cargo best during braking and side-slope travel |
| Harder polyurea liner | 0.70 | Good grip, slightly more slip than softer textured surfaces |
| Polyethylene (HDPE) | 0.20 | Cargo slides easily, tie-downs are required |
| Rubber or composite mat | No published figure; judge by tread depth and dry-grip feel | Grip is set by the compound and pattern, so compare samples by hand |
A polyethylene bed at 0.20 is closer to a slide than a floor. A loaded cooler or a toolbox keeps moving when you brake, and on a cross-slope it drifts toward the downhill wall. Move to a textured surface at 0.70 or 0.85 and the same load stays put through ordinary driving.
Grip has a limit, though. Friction drops the moment mud, water, dust or oil gets between the cargo and the liner, so a high-friction surface reduces sliding but never replaces straps or a bulkhead.
Grip is a fair-weather friend. Once the bed is wet or oily, only tie-downs keep a load where you put it.
Chemicals separate the materials further. Farm and ranch work brings diesel, hydraulic oil, bleach, caustic cleaners and animal urine into the bed, often in the same week. The same Armorthane technical guidance identifies polyurethane systems that resist diesel, hydraulic oil, bleach, sodium hydroxide and animal urine, and describes those coatings as UV-resistant and impact-resistant. That list covers most of what splashes around a tractor shed or a livestock pen.
Polyurea is not immune to everything. The guidance specifically cautions against direct contact with extremely high-pH or low-pH chemicals, which is the category that includes some acidic wheel cleaners and strong caustic degreasers. Wipe those up rather than letting them sit.
For a UTV that lives near tractors, stock tanks or a maintenance bench, the selection rule is short: pick a textured, UV-stable liner with documented resistance to hydraulic fluid and fuel. Then watch the texture trade-off. An aggressive surface that holds cargo also holds mud, blood and manure, and it takes longer to rinse out after daily work.
Here's how that release looks when the bed goes up.
Matching a Liner to a Dump Bed
A liner that fits a fixed bed can still fail on a tipping one. The failure mode isn't subtle: the panel catches on the hinge, the load rides up against the tailgate instead of sliding, or water pools underneath and lifts the coating from the inside where you can't see it.
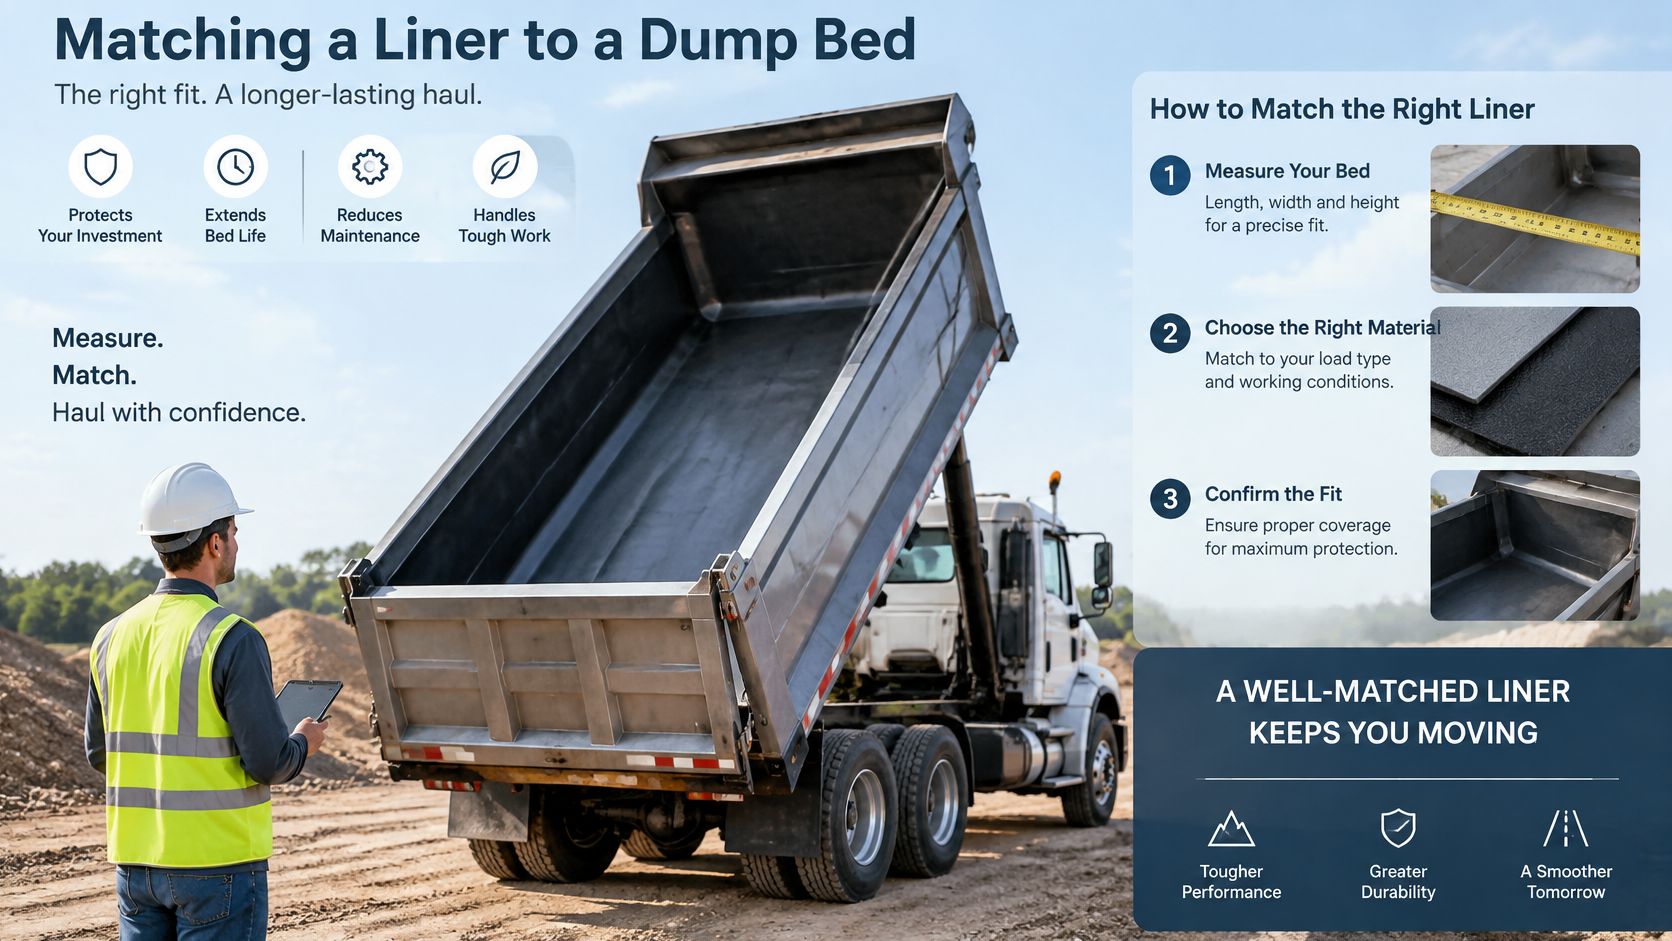
Run these checks against the actual machine before you order anything.
- Start with the fit list, not the product photo. Confirm the maker lists your exact model and bed profile. Bed dimensions change between trims and model years, and a panel that's an inch short at the bulkhead leaves a gap that collects everything you haul.
- Clear the hinge, tailgate and tipping arc. Tilt the empty bed by hand and watch the full travel. A liner that grazes the hinge under load will bind within a season, and a binding dump bed is a repair, not a cleanup.
- Keep the drain holes open. Water and mud have to leave before the bed rises. If a mat or panel covers the drains, water sits under it, and standing water is what lifts edges and starts corrosion on a steel floor.
- Check that your anchor points survive. Lace the liner around your stake pockets and tie-downs rather than over them. Covering an anchor you rely on trades cargo safety for paint protection, which is a bad trade.
- Look at how removable sections lock. A section that lifts out for cleaning is useful. One that lifts out on its own at 30 mph on a field road is a hazard, so check the fastener style and whether it can back off.
- Plan for bed flex. A spray-on coating has to stretch with the bed when one wheel drops into a rut, and a drop-in has to sit flat without rocking on the ribs. Rocking panels rub through coatings and rattle the load loose.
- Add the liner to your payload math. Whatever the liner weighs comes out of what you can carry, and on a battery-electric machine it also costs a little range on every climb.
If you're measuring a specific machine, keep the electric utility vehicle with a dump bed specs in front of you so the bed dimensions, payload figure and dump geometry are the ones you're working with.
Pass or fail: if any of the seven checks fails, change liner type before you buy. A different material is cheaper than a bed repair.
How to Install a Drop-In or Spray-On Liner
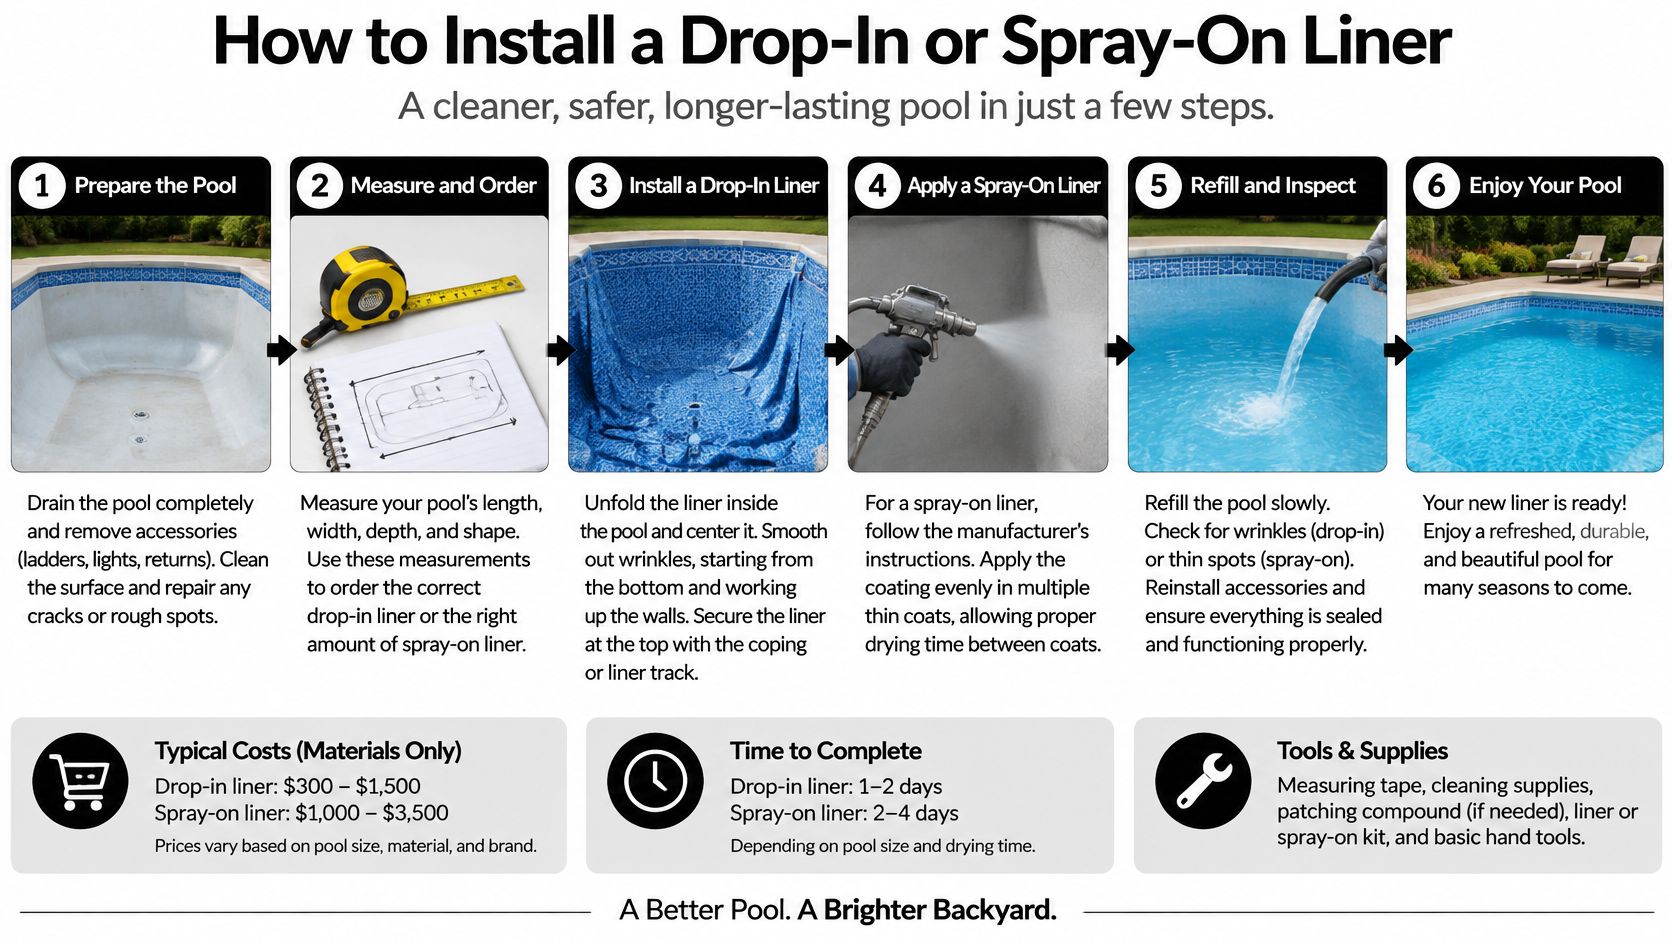
Installation separates these two products completely. One is a Saturday job with hand tools and a tape measure. The other is a shop procedure where the prep work matters more than the coating chemistry. Choose wrong here and the liner fails before it ever meets a load.
Drop-in liner, the DIY route
- Measure the floor, walls and drain points. Write the numbers down and compare them to the fit list. Measure at the tailgate lip and at the bulkhead, because beds taper.
- Clean and degrease the bed. Scrub out grit and any oil film. Trapped grit under a panel becomes sandpaper against your paint every time the bed flexes.
- Dry-fit the panels before fastening. Set them in place, then raise the bed and listen for contact at the ribs and wheel wells. On a bed that tilts electrically, that check takes seconds. A panel that clears everything at rest can still bind at full dump angle, which is why the test happens with the bed up. Adjust before you drill or clip anything.
- Fasten exactly as the maker specifies. Use the supplied clips or screws in the supplied locations. An extra fastener in the wrong place creates a stress point, and the panel cracks there first.
- Test with an empty bed, then a light load. Tip it empty, then with a couple of feed bags. You want to see cargo break loose and slide, not stick and ride up.
Done carefully, a drop-in takes a few hours, and every mistake along the way is reversible. That forgiveness is why it suits a first install.
Spray-on liner, shop-applied
- The installer abrades, cleans and primes the bed. This step decides the outcome. A coating on a contaminated or glossy surface delaminates no matter how good the chemistry is.
- The coating goes on in controlled temperature and humidity. Cold or damp conditions change how the film forms and how well it bonds.
- It cures before anything is loaded. Loading a fresh coating gouges it while it's still soft, and that gouge becomes a lifting point.
- Adhesion and thickness get checked before handover. Ask to see the readings. A shop that measures them is a shop that expects the film to hold.
The material data explains why an applicator can spray vertical bed walls without the film sagging into runs. A polyurea coating data sheet published by Profoam lists Shore D hardness of 55 ± 5, tensile strength of about 3,000 ± 300 psi, elongation of 260 ± 20% and tear strength of 480 ± 40 pli under ASTM test methods, along with a gel time of 2 to 4 seconds and a tack-free time under 5 seconds. A coating that gels that quickly grabs the wall before gravity can move it.
Moderate hardness resists gouging from tools, firewood and game-handling gear. Elongation above 200% lets the film stretch with a bed that deflects under uneven loads instead of cracking along a rib line. Treat all of those figures as formulation-specific, because thickness, substrate prep, application temperature and adhesion decide how the coating performs in the field. The lab numbers describe the material, and your install adds its own variables.
If you want to do the work yourself, buy a drop-in and keep the drill handy. If you want a bonded surface that shrugs off stone and survives the dump cycle for years, book the shop and spend your Saturday elsewhere.
Maintenance Schedule That Keeps Liners Working
A liner lasts on routine, not on luck. The work is small and repetitive, and skipping it is what turns a coating into a peeling sheet.
Liner maintenance schedule
| Task | How often | Why it matters |
|---|---|---|
| Rinse out mud, manure and debris | After each work day | Stops grit from abrading the surface |
| Clear drain holes | Monthly in the wet season | Prevents water pooling and lifting edges |
| Inspect spray-on edges and seams | Every three months | Catches lifting before it spreads |
| Check drop-in fasteners and tie-downs | Before each heavy load | Keeps panels from shifting |
| Clean hydraulic fluid or fuel spills | Immediately | Limits chemical stress on the coating |
The rinse is the one people skip, and it's the one that matters most. Grit that stays in the bed grinds against the surface every time you accelerate or brake, and a mat full of wet manure keeps the floor beneath it damp for days.
Fastener checks sound fussy until you've had a panel slide forward into the bulkhead with half a load behind it. Thirty seconds with a wrench before a heavy load is cheap insurance.
Repair signs, not cleaning jobs
Some problems stop being maintenance the moment they appear. Edges lifting from the bed floor won't reseal with a rinse, and water will keep working underneath. Cracks that spread under load need patching or replacement, because a crack concentrates stress at its tip. Panels that rock have either lost a fastener or were never seated correctly, and they'll rub through whatever is beneath them. Drainage that no longer runs means something has shifted or clogged where you can't see it.
A liner that's been looked after for a full season looks dull but intact. No lifting at the tailgate lip, no rust trails creeping out from under a mat, and water still finding its way out when you hose the bed down. That's the standard to hold yours to.
What a Bed Liner Costs Over Its Life
A UTV bed liner has no single sticker price. The number depends on the liner type, the bed it has to fit, who installs it and whether you buy once or replace a worn panel every few seasons. The honest comparison is cost per year of use.
A drop-in spreads its cost across replacements: buy once, then swap only the panel that wears through. A spray-on carries its cost upfront, because surface prep and shop labor are most of the job, and on a bed hauling stone and logs it can outlast cheaper options. A mat costs the least on day one and usually earns replacement soonest under heavy abrasion.
Cost structure by liner type
| Liner option | How it's priced | Cost note |
|---|---|---|
| Drop-in, model-specific | Published per make and model; one current listing appears below | Replace panel by panel to spread cost |
| Spray-on polyurethane or polyurea | Itemized shop quote covering prep, primer and labor | Highest upfront cost of the three; lasts longest under daily abrasion |
| Rubber or composite mat | Shelf price at parts counters | Lowest purchase cost, replaced soonest under abrasion |
For a real anchor on the drop-in side, RevZilla listed a SMARTLINER UTV bed liner for Polaris General 1000 and XP 1000 models at $117.59 in 2026. Use it as a model-specific price check, then ask installers for the equivalent itemized quote on spray-on work for your bed.
Then add the costs that never appear on a quote. Cleanup time runs longer on an aggressive texture, and a surface that grips the load on flat ground also grips it when the bed tips, which means cleanout labor after every dump. Lost payload is capacity you already paid for: every pound of liner is a pound of gravel the bed can't carry. Downtime while a coating is repaired is a week the machine isn't hauling.
Ask two or three installers for itemized quotes on the same bed size and make them state what surface prep, primer and warranty cover. Compare the total across the years you expect to own the machine, and fold it into a realistic UTV maintenance cost budget.
Choose the Liner for Your Work Before You Buy
Match the liner to the work and the decision gets simple. Match it to a photo of someone else's truck and you'll buy twice.
- Hunting, with mud, blood and frequent rinsing. Go with a drop-in or a mat that has real drainage. You want to pull it, hose it and put it back before the coolers come out, and you want the bed walls covered enough that a dragging quarter doesn't gouge them. A removable mat plus a spray-on on the walls handles both. Browse UTV hunting accessories with the same rinse-first mindset.
- Farm and ranch, with abrasive stone, fencing supplies and chemicals. Choose a spray-on coating with documented abrasion and chemical resistance, and have it applied by a shop after proper prep. The bond is the product here, and a bad prep job wastes the material.
- Construction and warehouse, with frequent dumping. A drop-in with verified tipping clearance works, or a spray-on if the bed carries abrasive material daily. The key requirement is that the load releases on its own when the bed rises, without a shovel.
The Campus E1 makes a useful reference point for these decisions. It's a 4×4 electric UTV with an electric power dump bed, a 550 lb bed capacity, stake pockets and four tie-downs, so you can measure a liner against real anchor points instead of guessing.
Before the season starts, run the seven fit checks on your own bed, pick the liner that matches the load you carry most, and confirm the install terms and warranty in writing. That's a twenty-minute job that saves a bed.
Campus EV builds the E1 for the kind of work that ruins a bare bed, and our team can tell you which liner types and cargo accessories fit the dump bed before you order. If you'd rather measure a real bed than guess from a spec sheet, we'll walk you through bed dimensions, payload and accessory fit. Visit Campus EV to see the E1 and the cargo options that go with it.