
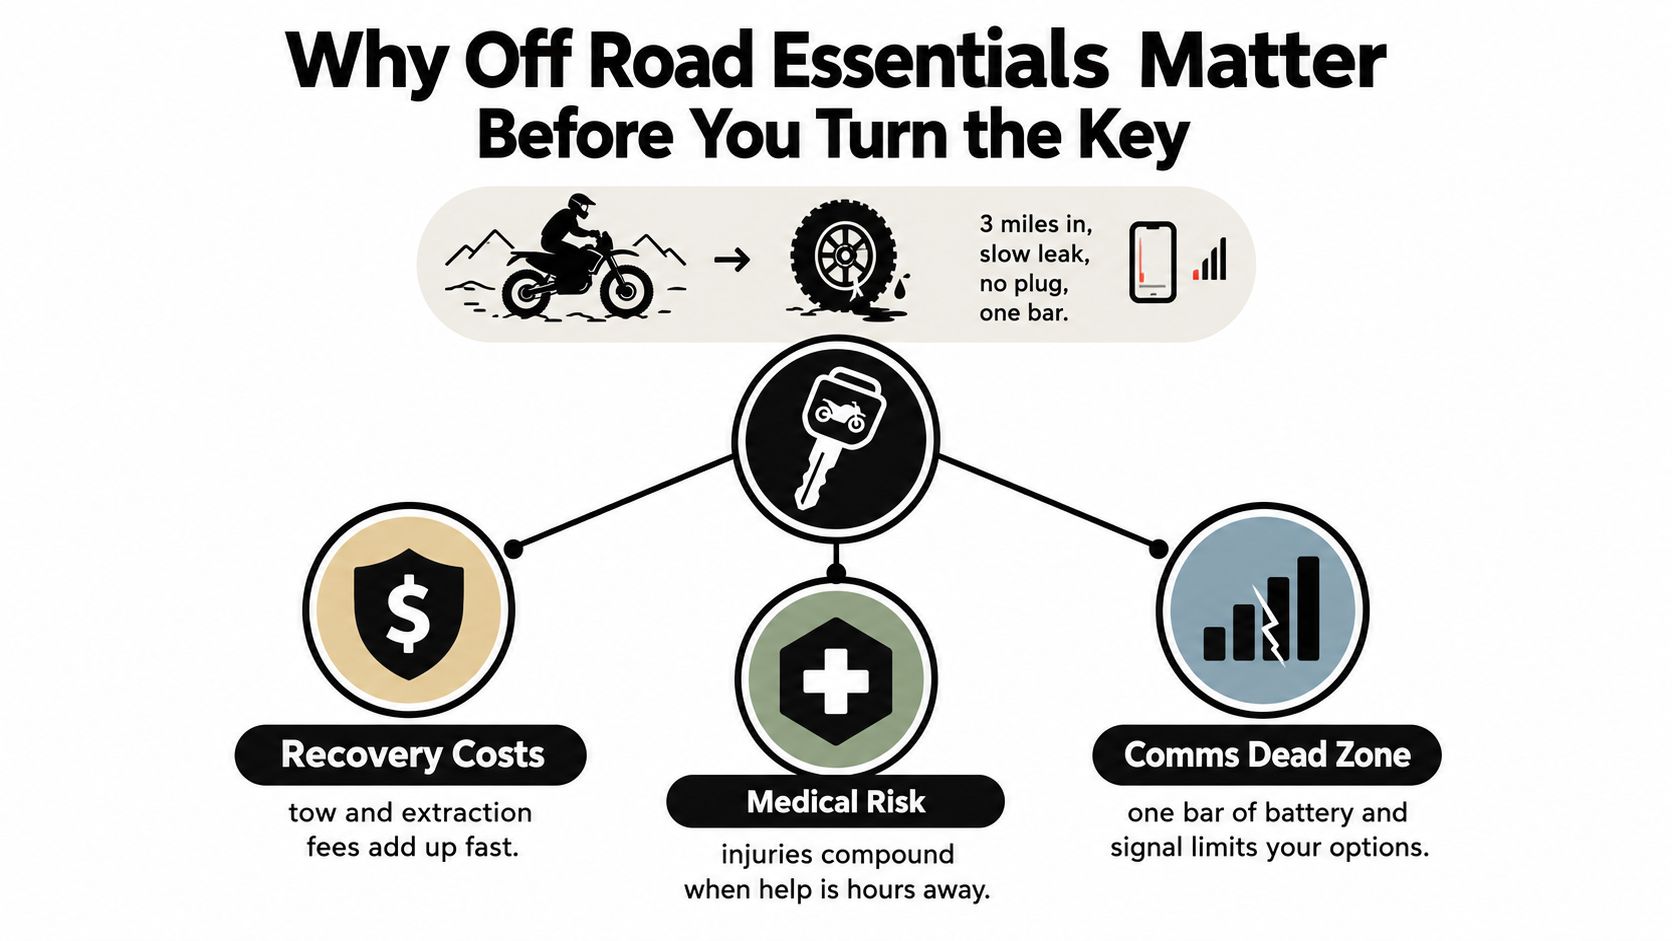
You're three miles into a trail when the UTV starts pulling to one side. The tire has a slow leak, your repair kit has no plug, and your phone shows one bar of signal. You can still drive, but every turn risks destroying the tire, damaging the rim, or turning a manageable walkout into a recovery call.
That situation isn't bad luck. It usually starts with a skipped inspection and a kit built around appearance instead of failure modes. Off road essentials should protect the rider, preserve the vehicle, solve predictable problems, and keep help reachable when the trail leaves cell coverage. That applies whether you're crossing a weekend trail, hauling fencing on a ranch, carrying tools at a construction site, or moving supplies around a farm.
Table of Contents
- Why Off Road Essentials Matter Before You Turn the Key
- Protective Gear That Actually Keeps You Safe
- Electric UTV Prep Versus Gas UTV Prep
- Vehicle Prep and Maintenance Essentials
- Recovery Gear and How to Use It
- Communication, Navigation, and Solo-Ride Risk
- Your Pre-Ride Checklist and Trip Planning Framework
- Frequently Asked Questions About Off Road Essentials
Why Off Road Essentials Matter Before You Turn the Key
Off-highway vehicles carry a serious injury burden. The U.S. Consumer Product Safety Commission report records an annual average of more than 800 deaths and about 100,000 emergency-department-treated injuries involving OHVs in the United States. The same report counted 2,448 OHV deaths from 2018 through 2020, with ATVs accounting for more than two-thirds of those deaths. Nearly 300 fatalities involved children under 16, while five states, Pennsylvania, California, West Virginia, Kentucky, and Florida, accounted for 613 deaths, more than 30% of the total.
Those figures don't mean every trail ride is reckless. They mean a small oversight can have consequences that comfort accessories won't solve. A helmet can reduce injury severity, a plug kit can stop a tire problem from becoming a disabled vehicle, and a radio or satellite messenger can shorten the time between an incident and assistance.
Build the kit in layers
Think of preparation as three connected layers:
- Protection: A helmet, eye protection, restraints, gloves, boots, and suitable clothing limit exposure to rollovers, branches, debris, and ejection.
- Mechanical resilience: Correct tire pressure, a compressor, a tire-plug kit, tools, and recovery equipment address the failures that strand vehicles most often.
- Reachability: Offline navigation, group communications, and an emergency locator give you options after the phone stops being useful.
A recreation rider and a working operator need the same basic safety foundation, but their cargo changes. A ranch vehicle may carry fencing tools, feed, or a passenger. A job-site UTV may need lighting, tie-downs, and a more deliberate payload plan. A trail rig needs recovery gear close at hand, not buried beneath coolers and camping equipment.
Practical rule: If you can't reach it from the driver's seat or explain what failure it solves, it probably doesn't belong in the primary kit.
Before each departure, check tires, fasteners, brakes, steering, restraints, lights, communication devices, and the route. Most preventable trail problems begin before the vehicle rolls.
Protective Gear That Actually Keeps You Safe
Protective gear starts with the head, eyes, and restraint system. Everything else supports those three priorities.
Start with certified protection
Wear a full-face or three-quarter-face helmet that meets DOT or ANSI Z90.1 guidance, along with eye protection meeting ANSI Z87.1 where applicable. The Polaris ATV and SxS safety guidance also emphasizes helmets, seat belts, remaining inside the vehicle, and avoiding paved roads except where crossing is permitted. Those rules are practical because rollovers, branches, dust, and sudden stops don't care whether you're riding for recreation or completing a work task.
A helmet must fit tightly without creating pressure points. Fasten the chin strap so it stays snug when you open your mouth, and confirm that goggles or protective eyewear don't lift the helmet or block peripheral vision. A novelty helmet may look acceptable in a photograph, but it doesn't give you a dependable safety baseline.
Side-by-side occupants should use the installed seat belts every time. If the vehicle uses a four- or five-point harness, use a properly mounted, tested system and verify that the webbing lies flat across the body. Check that the belt retracts, latches, and releases correctly before loading passengers or cargo.
Match clothing to the work
Gloves protect against vibration, branches, hot components, and loss of grip. Boots should cover the ankle, resist impact, and provide a sole that stays planted on wet footwells or uneven ground. Abrasion-resistant outerwear is a better choice than ordinary cotton when the vehicle is moving through brush or carrying out a work task.
Job-site PPE can overlap with trail gear, but it doesn't replace equipment designed for vehicle-specific hazards. A work helmet may protect against overhead impact while offering poor eye coverage or no suitable retention for trail conditions. Don't substitute convenience for fit, certification, and restraint.
| Gear Category | Standard or Rating | Why It Matters |
|---|---|---|
| Helmet | DOT or ANSI Z90.1 guidance | Reduces exposure to head and facial impact |
| Eye protection | ANSI Z87.1 | Helps defend against branches, dust, and debris |
| Seat belts or harnesses | Vehicle-compatible, properly mounted system | Keeps occupants inside the protective structure |
| Gloves | Impact- and abrasion-appropriate construction | Preserves grip and protects hands |
| Boots | Ankle coverage with traction-focused sole | Supports footing and shields feet and lower legs |
| Outerwear | Abrasion-resistant, weather-appropriate material | Performs better than ordinary cotton around brush and machinery |
Don't leave the belt loose because you're only crossing a field. Don't wear loose straps, open footwear, or clothing that can catch on controls. The correct gear is the gear you can put on quickly, fit correctly, and keep wearing for the entire route.
Electric UTV Prep Versus Gas UTV Prep
Electric and gas UTVs share the same chassis checks, restraint requirements, tire concerns, and recovery needs. Their preparation diverges at the energy system and control inputs.
An electric UTV delivers torque immediately and operates without noise. That helps with controlled starts, livestock work, and wildlife access, but it also demands smoother throttle discipline because a sudden input can break traction without the engine noise that normally signals acceleration. Regenerative braking can help manage descents and recover energy, yet unfamiliar regen behavior can surprise a driver on loose terrain.
Gas preparation centers on fuel, oil, coolant, belts, filters, and engine-related checks. Electric preparation shifts attention to state of charge, auxiliary battery health, charging access, battery temperature, and the load created by winches, lights, heaters, and other accessories. Range isn't a simple distance estimate. Surface, slope, payload, tire pressure, throttle use, and repeated recovery work all affect energy consumption.
For operators considering a four-seat electric side-by-side, the Campus EV electric side-by-side 4-seater is one example of the format. Treat any electric UTV as a managed energy system, not as a gas vehicle with the fuel tank removed.
| Prep Item | Gas UTV | Electric UTV |
|---|---|---|
| Energy check | Fuel level and reserve plan | State of charge, route demand, and charging plan |
| Powertrain inspection | Oil, coolant, belts, filters, and leaks | Battery condition, thermal management, electrical connections, and leaks |
| Driving feel | Engine braking and gear selection | Instant torque and regenerative braking response |
| Accessory load | Fuel use rises with engine runtime | Winch, lighting, and auxiliary loads reduce available battery energy |
| Remote operation | Carry fuel planning appropriate to the route | Carry charging equipment and preserve a deliberate range buffer |
| Noise management | Engine sound announces vehicle movement | Quiet operation requires extra awareness around people and animals |
Battery temperature deserves attention before hard work, long climbs, or repeated recoveries. Follow the manufacturer's charging and storage guidance, keep the battery compartment clear, and don't improvise around damaged packs or wiring. For a deeper safety reference on thermal events and suppression planning, review this thermal runaway fire solution guide.
Gas riders should still carry the ordinary repair and recovery kit. Electric riders need that kit plus disciplined energy planning, because an empty battery usually can't be solved with a small trail-side adjustment.
Vehicle Prep and Maintenance Essentials
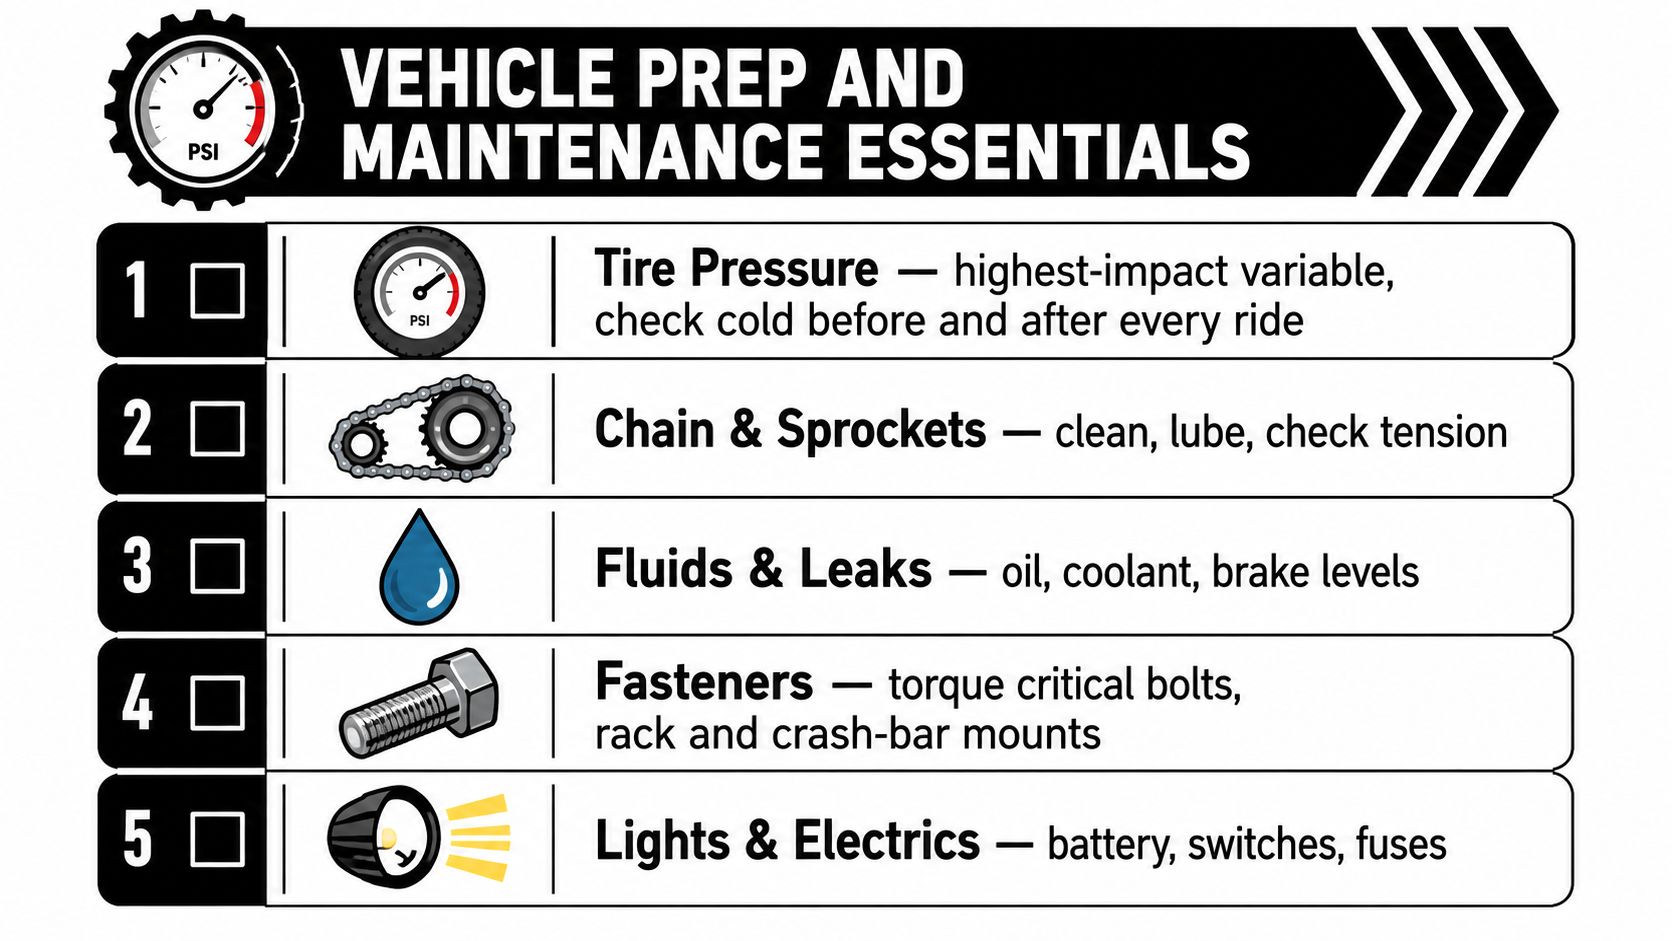
Tire pressure is the highest-impact variable you can adjust before entering difficult terrain. A lower pressure lets the tire form a larger contact patch and conform to rocks, sand, and mud rather than skating across them. The Benelli off-road driving manual places rough-terrain pressure management around 15 to 20 psi and pairs it with a compressor, gauge, and tire-plug kit so the vehicle can be aired back up before faster travel.
Check pressure cold, record the setting, and adjust for the surface and the tire manufacturer's limits. Airing down without a way to reinflate is incomplete preparation.
Run the inspection in the same order
Use a repeatable sequence so haste doesn't decide what you overlook:
- Tires and wheels: Check pressure, sidewalls, tread, valve stems, lug torque, and the spare or repair plan.
- Steering and suspension: Inspect tie rods, ball joints, A-arms, shocks, bushings, and visible damage.
- Brakes: Look at pad thickness, rotor condition, fluid level, and pedal feel.
- Fluids and leaks: Gas UTVs need checks for engine oil, coolant, brake fluid, and differential fluid. Electric UTVs still need brake and differential checks, plus inspection of the coolant loop and battery thermal-management system where fitted.
- Electrical and restraints: Test headlights, brake lights, switches, fuses, battery connections, seat belts, and harnesses.
Keep a torque wrench, plug-in tire inflator, socket set, and compact grease gun permanently in the vehicle. These tools earn their space because loose hardware, low pressure, and dry fittings can end a workday without a dramatic failure.
After the ride, rinse abrasive mud from suspension joints, brakes, and underbody areas. Grease the fittings, inspect CV boots for tears, look for cracked plastics, and check rack and crash-bar mounts before the next load. Electric owners should keep water away from connectors and follow the vehicle's cleaning instructions rather than pressure-washing sensitive electrical areas.
For owners maintaining electric personal mobility equipment alongside a UTV, this electric bike maintenance guide offers a useful reminder that electrical inspection and mechanical care belong in the same routine.
Recovery Gear and How to Use It
A recovery kit should answer a specific question: what happens if the tires lose traction, the vehicle has no anchor, or the pull becomes unsafe?
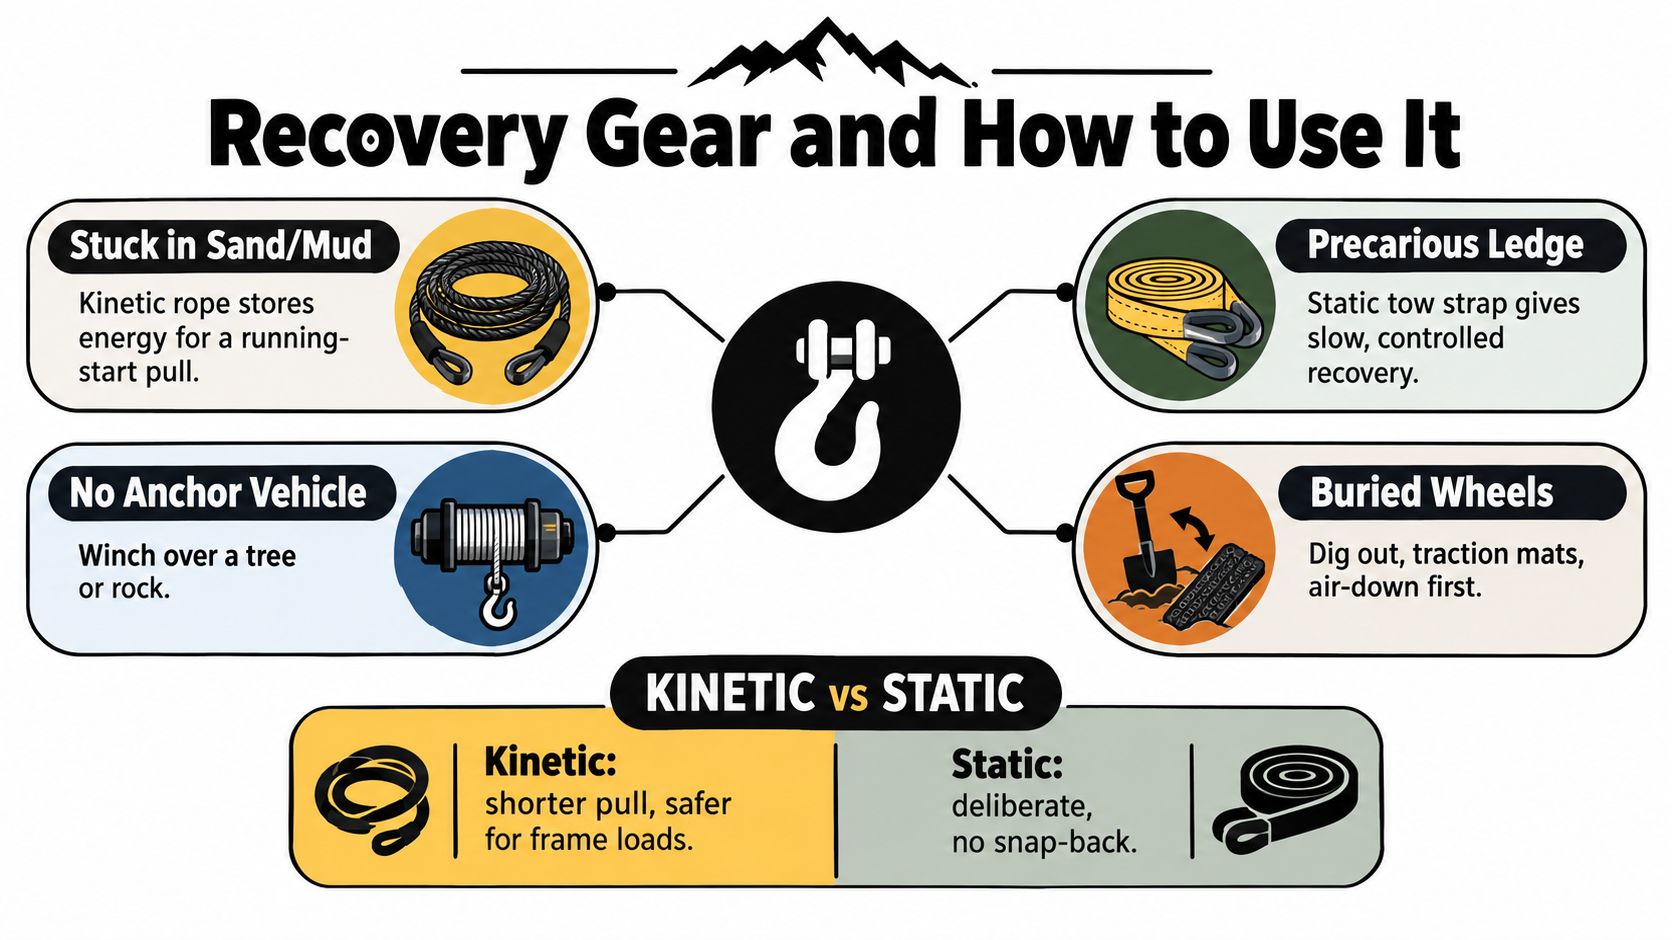
For a stuck UTV, use a kinetic recovery strap or rope, rated shackles, traction boards, and a winch. Kinetic material stretches and releases energy progressively, while a static strap transfers pulling forces more abruptly during a snatch recovery. The BFGoodrich recovery techniques guide recommends a recovery dampener and identifies a 4,500- to 6,000-pound winch range for many UTV applications. It also discusses strap ratings commonly listed around 8,000 to 10,000 pounds for snow and trail recovery.
Those ratings don't make an improvised attachment safe. Use factory-rated recovery points, inspect every strap and shackle, and keep people out of the line of pull.
Match each tool to the failure
- Kinetic rope: Use it for a controlled pull when the vehicle is stuck in mud, sand, or soft ground and a suitable recovery vehicle is available.
- Static tow strap: Use it for deliberate positioning or a slow pull where you don't want stored stretch.
- Soft or rated D-ring shackles: Connect recovery equipment without using hardware that can become a dangerous projectile.
- Traction boards: Dig around the tire, clear the rut, and place the board so the tread can climb onto it. Spinning harder usually digs deeper.
- Winch: Use it when no second vehicle can provide a safe pull. Add a tree-saver strap, inspect the line, and keep the line as straight as practical.
- Dampener blanket: Place it over the line to reduce energy release if the line or connection fails.
A synthetic winch line is lighter and easier to handle, while steel cable tolerates different kinds of abrasion but demands careful handling. Neither compensates for a poor anchor or a person standing in the bight.
Electric UTVs create an extra communication problem during recovery. Their quiet motors mean a bystander may not hear movement, winch operation, or a repositioning vehicle. Assign a spotter, establish hand signals or radio commands, and keep soft shackles secured away from battery compartments and moving parts.
Pack heavy, seldom-used equipment low and forward. Keep gloves, shackles, a strap, and the winch remote accessible from the driver's position, not under cargo.
Communication, Navigation, and Solo-Ride Risk
A full recovery kit won't help if nobody knows where you are. The bigger exposure on remote trails is often a combination of injury, lost route, and no reliable way to contact another person.
Use layers. Your phone should have a charged battery, offline maps, and the route downloaded before departure. A dedicated GMRS or FRS radio supports group coordination, while a satellite messenger or personal locator beacon provides a separate path when cell coverage disappears. Carry a paper map and know how to identify your position without relying entirely on a screen.
Set the protocol before the ride
Share the route, vehicle description, expected return, and bailout points with someone who isn't on the trip. Agree on check-in times and define what that person should do if you miss one. For work crews, the same principle appears in lonely worker live monitoring tips, where a lone operator needs a clear escalation plan rather than an assumption that silence means everything is fine.
Solo riding multiplies every other problem. A puncture becomes harder to repair, a rollover becomes more dangerous, and a dead battery or damaged steering component can remove your ability to reach help. I consider solo travel reasonable only on familiar, low-consequence routes with a reliable communication layer, conservative weather decisions, and a route someone else is actively monitoring.
A second vehicle is essential for remote terrain, difficult obstacles, uncertain weather, heavy loads, or work that takes you beyond easy walking distance. Stay on designated trails and follow land-manager maps, closures, and access rules. Navigation isn't just about avoiding a wrong turn. It keeps you out of areas where recovery is prohibited, unsafe, or impossible.
Your Pre-Ride Checklist and Trip Planning Framework
A good checklist follows time, not categories. Run it early enough to fix a problem without turning the departure into a rushed improvisation.
T-minus 24 hours
Inspect the vehicle while it's parked on level ground. Check cold tire pressure, lug torque, steering and suspension, brakes, fluids, CV boots, lights, restraints, and recovery points. Gas owners should confirm fuel and inspect engine fluids. Electric owners should confirm state of charge, charging completion, battery temperature status, auxiliary battery health, and the route's charging options.
Stage the kit beside the vehicle:
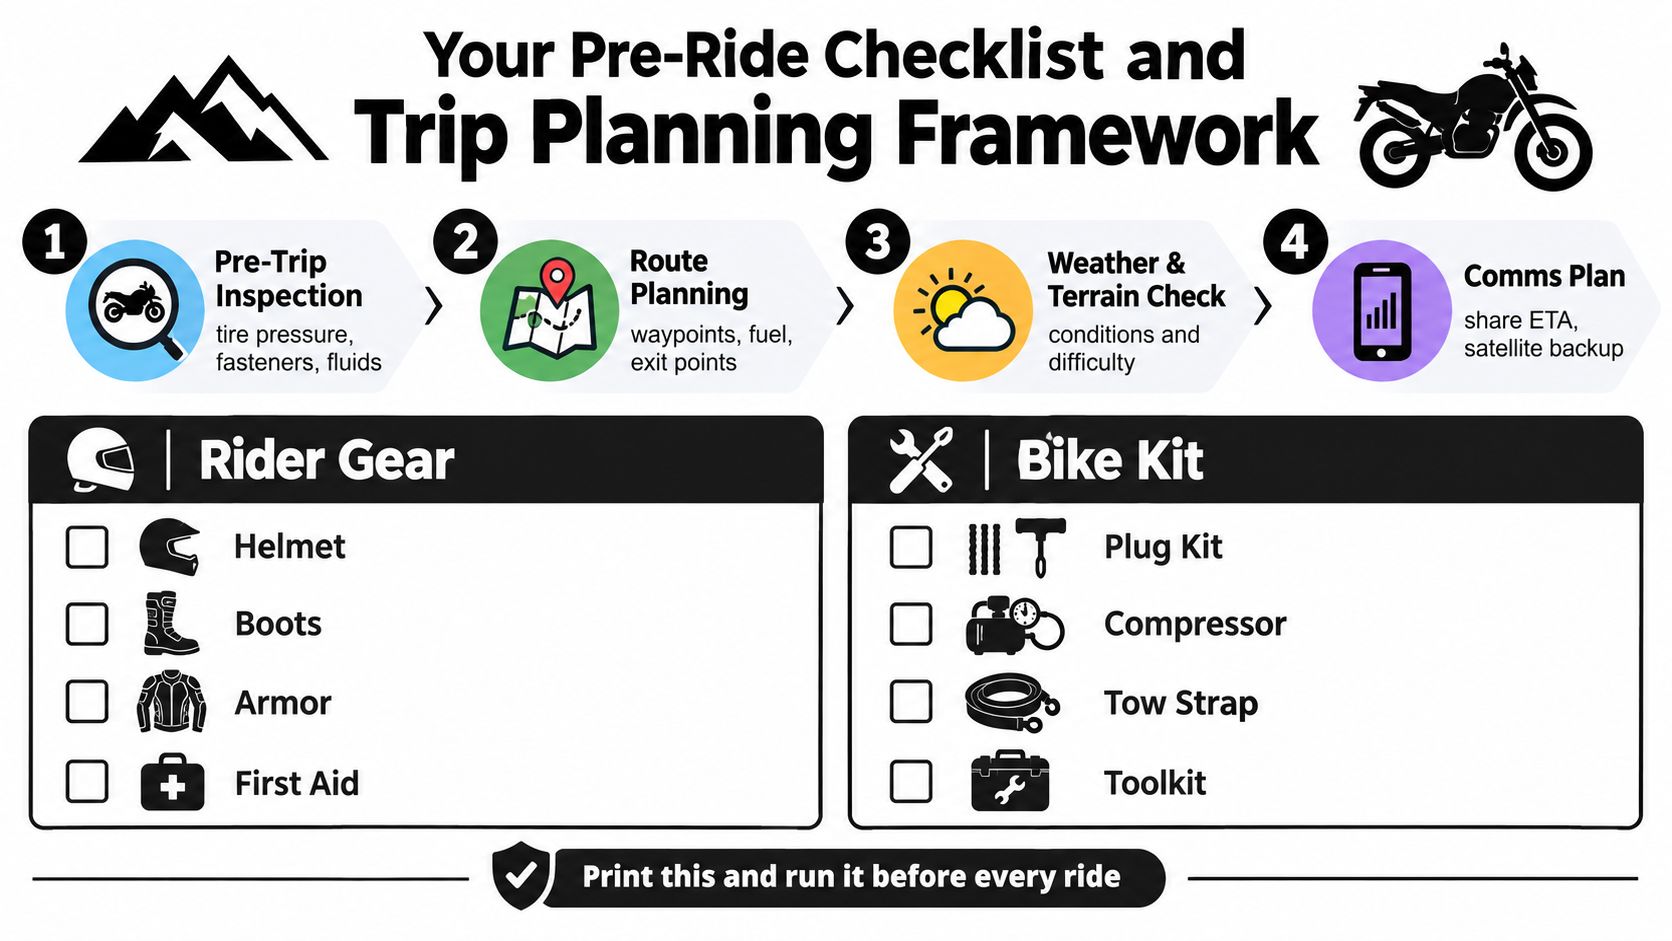
- Rider gear: Helmet, eye protection, gloves, boots, weather layers, first aid, water, and food.
- Vehicle kit: Plug kit, compressor, gauge, socket set, torque wrench, grease gun, shackles, recovery strap, traction boards, and winch accessories.
- Navigation kit: Offline maps, paper backup, radios, charging cables, spare power, and emergency contacts.
If the trip includes overnight parking or remote camp operations, use a dedicated prepare for off grid camping guide to check lighting, power, shelter, and personal supplies rather than treating the UTV cargo bed as a complete camp system.
T-minus 1 hour
Confirm weather, trail conditions, closures, waypoints, exit routes, fuel stops, or charging stops. Electric drivers should reserve a range buffer for steep terrain, repeated regen-heavy descents, accessory use, and a recovery event. Don't plan to arrive at the final waypoint with an empty battery only because the route distance appears manageable.
For tire selection and mixed-use riding, compare options using UTV tire reviews that address terrain and intended use, not just aggressive tread appearance.
At the trailhead
Recheck the tires after transport, fit all protective equipment, and secure cargo so it can't shift forward during braking. Share the final route and expected return, test radios, and identify the first bailout point. Air down only when you have a plan and equipment to air back up before higher-speed travel or permitted pavement crossings.
For a job site, add load weight, passenger position, tie-downs, and travel speed to the inspection. For recreation, add obstacle difficulty, weather changes, and the recovery plan. The same framework works because it tests the vehicle, the people, the route, and the way home.
Frequently Asked Questions About Off Road Essentials
How should I charge an electric UTV away from home?
Plan charging before you load the vehicle. Confirm whether the destination supports the required charging equipment, whether a portable Level 1 or Level 2 option is appropriate for the vehicle, and whether the site has dependable power. Solar can support a broader off-grid energy plan, but it shouldn't be treated as an automatic substitute for a route-specific charging calculation.
Carry the correct cables and protect them from mud and standing water. Preserve a range buffer for steep climbs, low-pressure tires, cargo, passengers, winching, and recovery. Regenerative braking may help on descents, but it doesn't guarantee enough recovered energy to rescue a poor route plan.
Can I drive a UTV on public roads?
Assume the answer varies by jurisdiction. Registration classes, OHV stickers, equipment requirements, speed rules, and permitted crossings differ by state and local authority. Check the rules for the exact road and land-management area before departure, and remember that off-highway safety guidance generally treats paved-road travel as limited rather than routine.
How do passengers and cargo change the plan?
Use one passenger per designated seat and require every occupant to wear the available restraint. Follow the manufacturer's passenger, payload, and rollover-protection guidance. Cargo changes braking, suspension behavior, traction, range, and recovery loads, so secure it low and evenly instead of stacking weight high behind the occupants.
For farms, ranches, warehouses, and construction sites, reduce speed and drive smoothly when carrying people or equipment. Work use doesn't make a side-by-side exempt from trail hazards.
How often should I inspect protective and recovery gear?
Inspect helmets, goggles, harnesses, straps, shackles, winch lines, and traction equipment before each demanding trip. Replace damaged, cut, stretched, heat-affected, or chemically contaminated recovery gear. Follow the helmet manufacturer's replacement guidance and retire equipment when its condition or history is uncertain.
The next useful action is simple. Print the pre-ride checklist, walk around the vehicle, and test every item before loading. A kit you haven't inspected is only a collection of assumptions.
If you're building an electric UTV setup for trail riding, ranch work, hunting, or job-site hauling, Campus EV offers the Campus E1 electric side-by-side along with relevant parts and accessories. Visit Campus EV to review the vehicle platform and shape your off road essentials around the work, terrain, passengers, and charging access you typically use.